As a trusted supplier of Rising Stem Gate Valves, I understand the importance of proper valve maintenance and adjustment. One critical aspect of maintaining a Rising Stem Gate Valve is adjusting the packing. In this blog post, I'll share a detailed guide on how to adjust the packing in a Rising Stem Gate Valve, ensuring optimal performance and longevity.
Understanding the Role of Packing in a Rising Stem Gate Valve
Before diving into the adjustment process, it's essential to understand what packing is and why it's crucial in a Rising Stem Gate Valve. The packing is a sealing material placed around the valve stem to prevent fluid leakage along the stem as it moves up and down during valve operation. Over time, the packing can wear out, become loose, or lose its sealing properties due to factors such as temperature changes, pressure fluctuations, and normal wear and tear. When this happens, it's necessary to adjust or replace the packing to maintain the valve's integrity.
Tools and Materials Needed
To adjust the packing in a Rising Stem Gate Valve, you'll need the following tools and materials:
- Adjustable wrench or spanner: This will be used to loosen and tighten the packing gland nuts.
- Packing material: Depending on the valve's application and the type of fluid it handles, you'll need the appropriate packing material. Common packing materials include graphite, PTFE, and asbestos-free fiber.
- Gasket scraper or putty knife: This can be used to clean the packing gland area if there is any old packing or debris.
- Safety equipment: Wear safety glasses, gloves, and appropriate protective clothing to prevent injury during the adjustment process.
Step-by-Step Guide to Adjusting the Packing
Step 1: Isolate the Valve
Before starting any work on the valve, it's crucial to isolate it from the system. This means shutting off the flow of fluid to the valve and relieving any pressure in the pipeline. Follow all safety procedures and use appropriate locking devices to prevent accidental valve operation during the adjustment process.
Step 2: Inspect the Packing
Once the valve is isolated, visually inspect the packing area. Look for signs of leakage, such as wet spots or drips around the valve stem. Check the condition of the packing gland nuts and bolts to ensure they are in good condition and not damaged. If the packing appears to be severely worn or damaged, it may need to be replaced entirely. However, if it's just loose, you can proceed with the adjustment.
Step 3: Loosen the Packing Gland Nuts
Using an adjustable wrench or spanner, carefully loosen the packing gland nuts. Do this slowly and evenly to avoid putting excessive stress on one side of the gland. Loosen the nuts just enough to allow the packing to be adjusted. Be careful not to loosen them too much, as this could cause the packing to fall out or the valve stem to become misaligned.
Step 4: Adjust the Packing
With the packing gland nuts loosened, you can now adjust the packing. Gently press down on the packing using a flat tool or your fingers to compress it slightly. This will help to fill any gaps and improve the sealing around the valve stem. Make sure the packing is evenly distributed around the stem and that there are no air pockets or gaps.
Step 5: Tighten the Packing Gland Nuts
Once the packing is adjusted, slowly and evenly tighten the packing gland nuts. Tighten them just enough to compress the packing and create a seal, but not so much that it restricts the movement of the valve stem. You may need to make several small adjustments to achieve the right balance between sealing and stem movement. As you tighten the nuts, periodically check the valve stem to ensure it can move freely up and down.
Step 6: Check for Leakage
After tightening the packing gland nuts, check for any signs of leakage around the valve stem. If there is still leakage, you may need to repeat the adjustment process or replace the packing if it's damaged. If the valve is operating properly and there is no leakage, you can proceed to the next step.
Step 7: Reactivate the Valve
Once you're satisfied with the packing adjustment and there is no leakage, you can reactivate the valve. Open the valve slowly and check for proper operation. Monitor the valve for a period of time to ensure that the packing adjustment has been successful and that there are no further issues.
Tips for Successful Packing Adjustment
- Use the right packing material: Make sure you use the appropriate packing material for your valve's application. Different fluids and operating conditions require different types of packing. Consult the valve manufacturer's recommendations or a professional if you're unsure which packing material to use.
- Follow the manufacturer's instructions: Always refer to the valve manufacturer's instructions for specific packing adjustment procedures. Different valve models may have slightly different requirements, so it's important to follow the guidelines provided.
- Be careful not to over-tighten: Over-tightening the packing gland nuts can cause excessive friction on the valve stem, leading to premature wear and damage. It can also make it difficult to operate the valve. Use a torque wrench if possible to ensure that the nuts are tightened to the correct specifications.
- Inspect regularly: Regularly inspect the packing in your Rising Stem Gate Valves to catch any issues early. This can help prevent costly repairs and downtime in the future.
Related Products
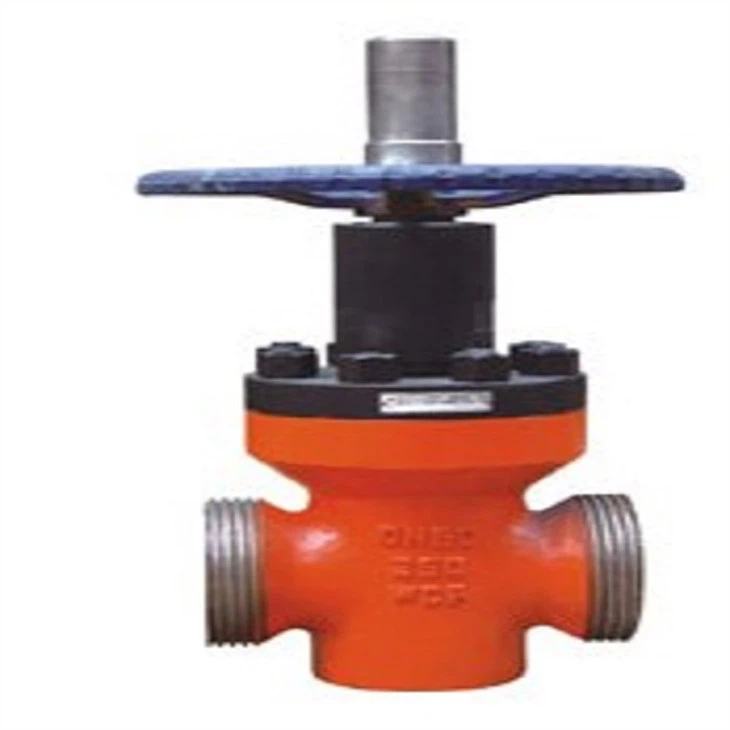
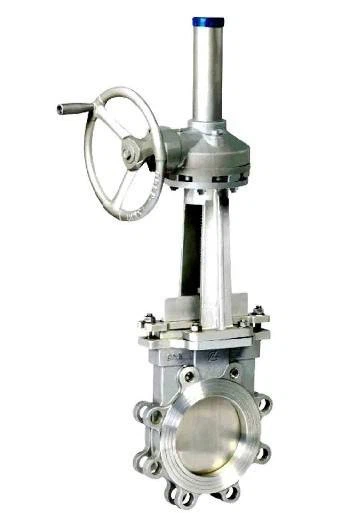
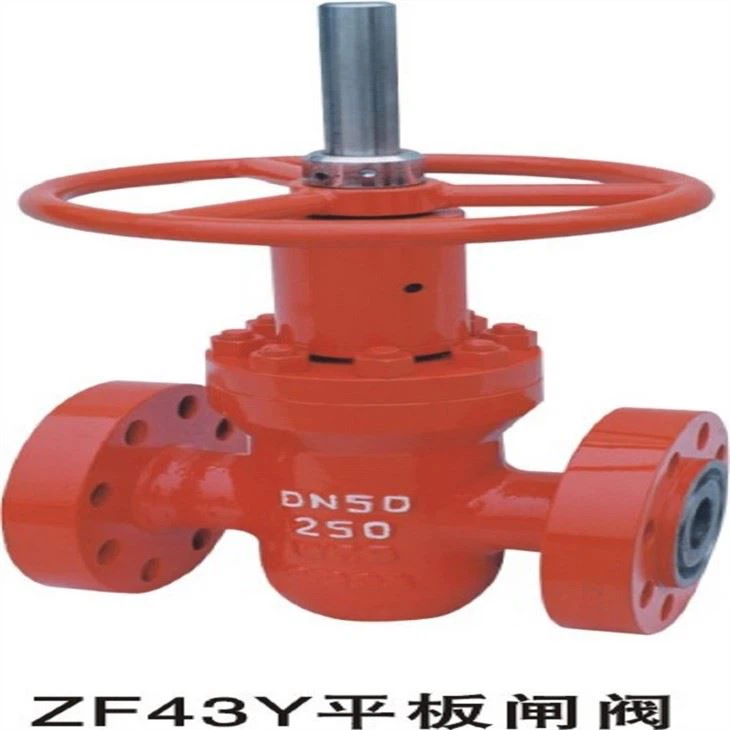
As a supplier of Rising Stem Gate Valves, we also offer a range of related products that may be of interest to you. Check out our Manual Lug Type Knife Gate Valve, Parallel Gate Valve, and Steel Square Gate for more options.

Conclusion
Adjusting the packing in a Rising Stem Gate Valve is an important maintenance task that can help ensure the valve's optimal performance and prevent fluid leakage. By following the steps outlined in this guide and using the right tools and materials, you can successfully adjust the packing and keep your valve in good working condition. If you have any questions or need further assistance with valve maintenance or adjustment, don't hesitate to contact us for expert advice. Our team of professionals is always ready to help you find the best solutions for your valve needs.
References
- Valve Handbook, by Leslie E. Spira
- Industrial Valves: Design and Application, by Tom L. Smith


